Signing up and signing in
cajeX supports several ways to sign in, in this order of preference:
- Enterprise SSO — if your organisation has connected an identity provider (Microsoft Entra ID, Okta, or any OIDC/SAML provider), you'll be redirected to your IdP automatically based on your email domain.
- Social login — Google, GitHub, or Apple, available on all standard plans.
- Magic link — enter your email and click the link in your inbox.
- Email + password — for environments that require it.
If your workspace owner has enabled multi-factor authentication, you'll be prompted to set it up the first time you log in.
The workspace switcher
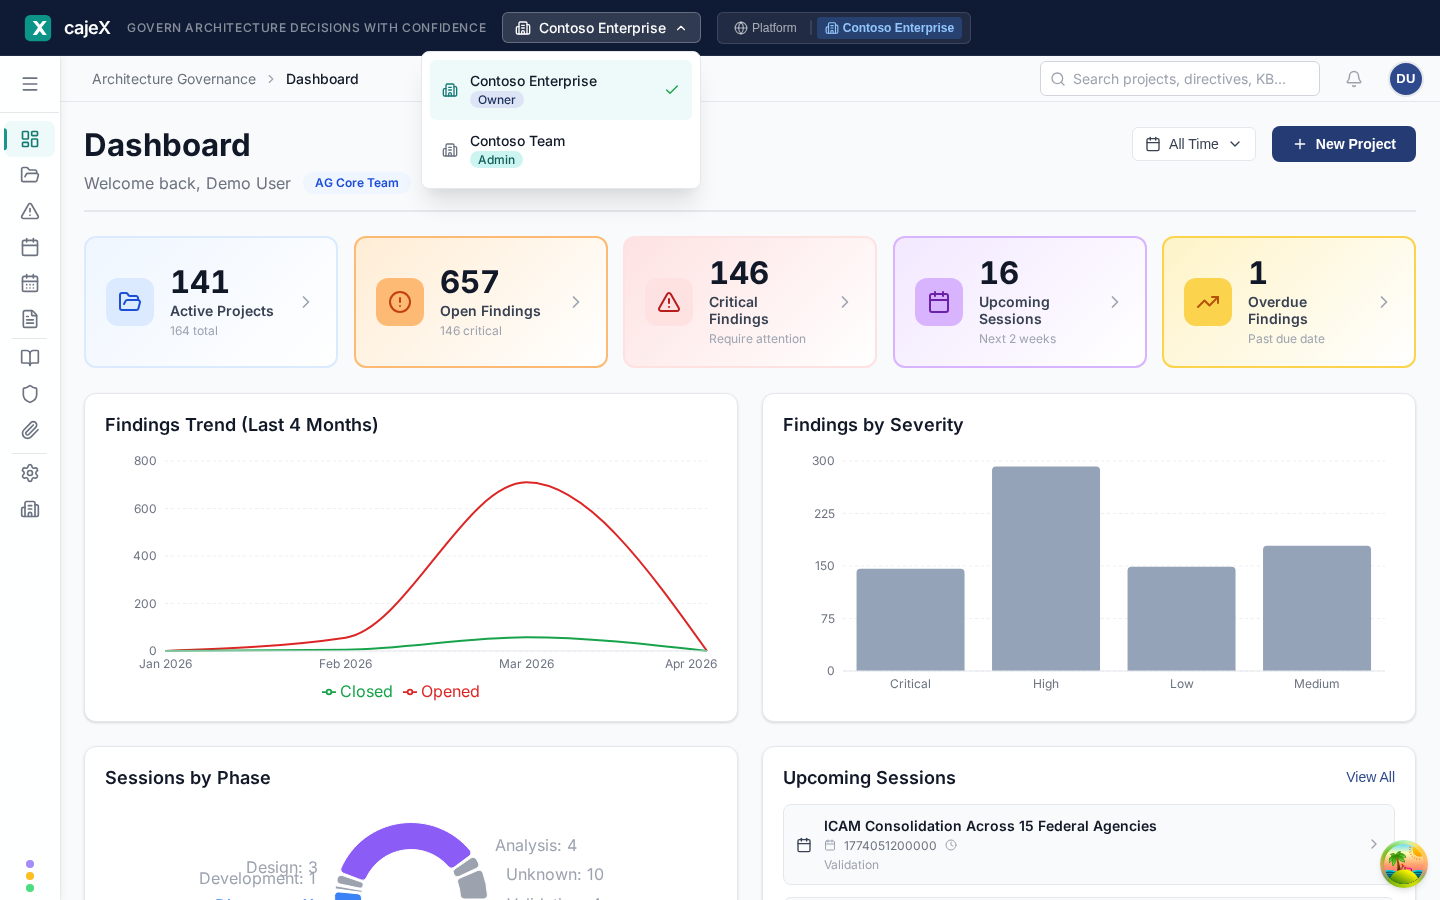
If you belong to more than one workspace (common for consultants and contractors), the workspace switcher in the header lets you jump between them. Each entry shows your role badge for that workspace — Owner, Admin, Reviewer, or Member — so you can see at a glance what you can do where.
Switching workspaces re-scopes every screen in the app. Projects, directives, findings, and members all change to reflect the workspace you've selected.
Your role
Your role determines what you can see and do. From most permissive to least:
| Role | Can do |
|---|---|
| Owner | Everything an Admin can do, plus: change plan, transfer ownership, soft-delete the workspace, and pay for the subscription. There is exactly one Owner per workspace. |
| Admin | Manage members and invitations, configure branding, security, identity, AI settings, automation, workflow templates, and trigger data exports. |
| Reviewer | Run reviews, raise findings, comment on projects and sessions. Cannot manage members or workspace settings. |
| Member | Submit projects, view directives and the knowledge base, see findings raised against their projects. |
If a feature in this guide is restricted, you'll see a permission badge like (Admin only) or (Owner only) at the top of the section.
Navigating the app
The left navigation rail groups features into three areas:
- Work — Dashboard, Knowledge Base, Directives, Projects, AI Review, Sessions, Calendar, Findings, Documents, Reports.
- Account — Profile, Workspace switcher.
- Settings — only visible if you have admin or owner permissions; lands on the Members tab by default.
Advanced surfaces for compliance and platform teams may appear lower in the rail when enabled for your workspace; they're outside the scope of this guide.
Tips for your first day
- Switch to a workspace where you have admin access if you want to follow along with the workspace-admin chapter at the end.
- Open the Knowledge Base first, even if it's empty — it's the upstream of everything else.
- Hover any directive, finding, or project to see its workspace ID; this is useful when you're working with support.